
Okay,
so this post is a little late… like over a month late… But
anyways, I was able to get all of those Christmas presents finished.
Since I had procrastinated for so long, I knew I wouldn’t be able
to finish them by the 23rd as I had hoped, but since they
were all for my friends at school, that wasn’t much of a problem.
So this year I gave out mainly 12th day of Christmas
presents, and I got all but one of them done on time! :) It was a
little stressful, since I had waited until I had basically 2 weeks to
get around 20 plushies done, but I guess that’s the magic of
procrastination. And I think they turned out well!

Since
I didn’t have much time, I looked online to find patterns rather
than trying to make my own. A couple of the patterns I found were a
bit odd, or I modified them a bit, so I thought I’d share what I
did for them.
The
vast majority of the patterns I used were really great, and didn’t
need any changes, which was awesome, especially since a few of them
were basically just pictures I found on Google images and figured I’d
try.
My
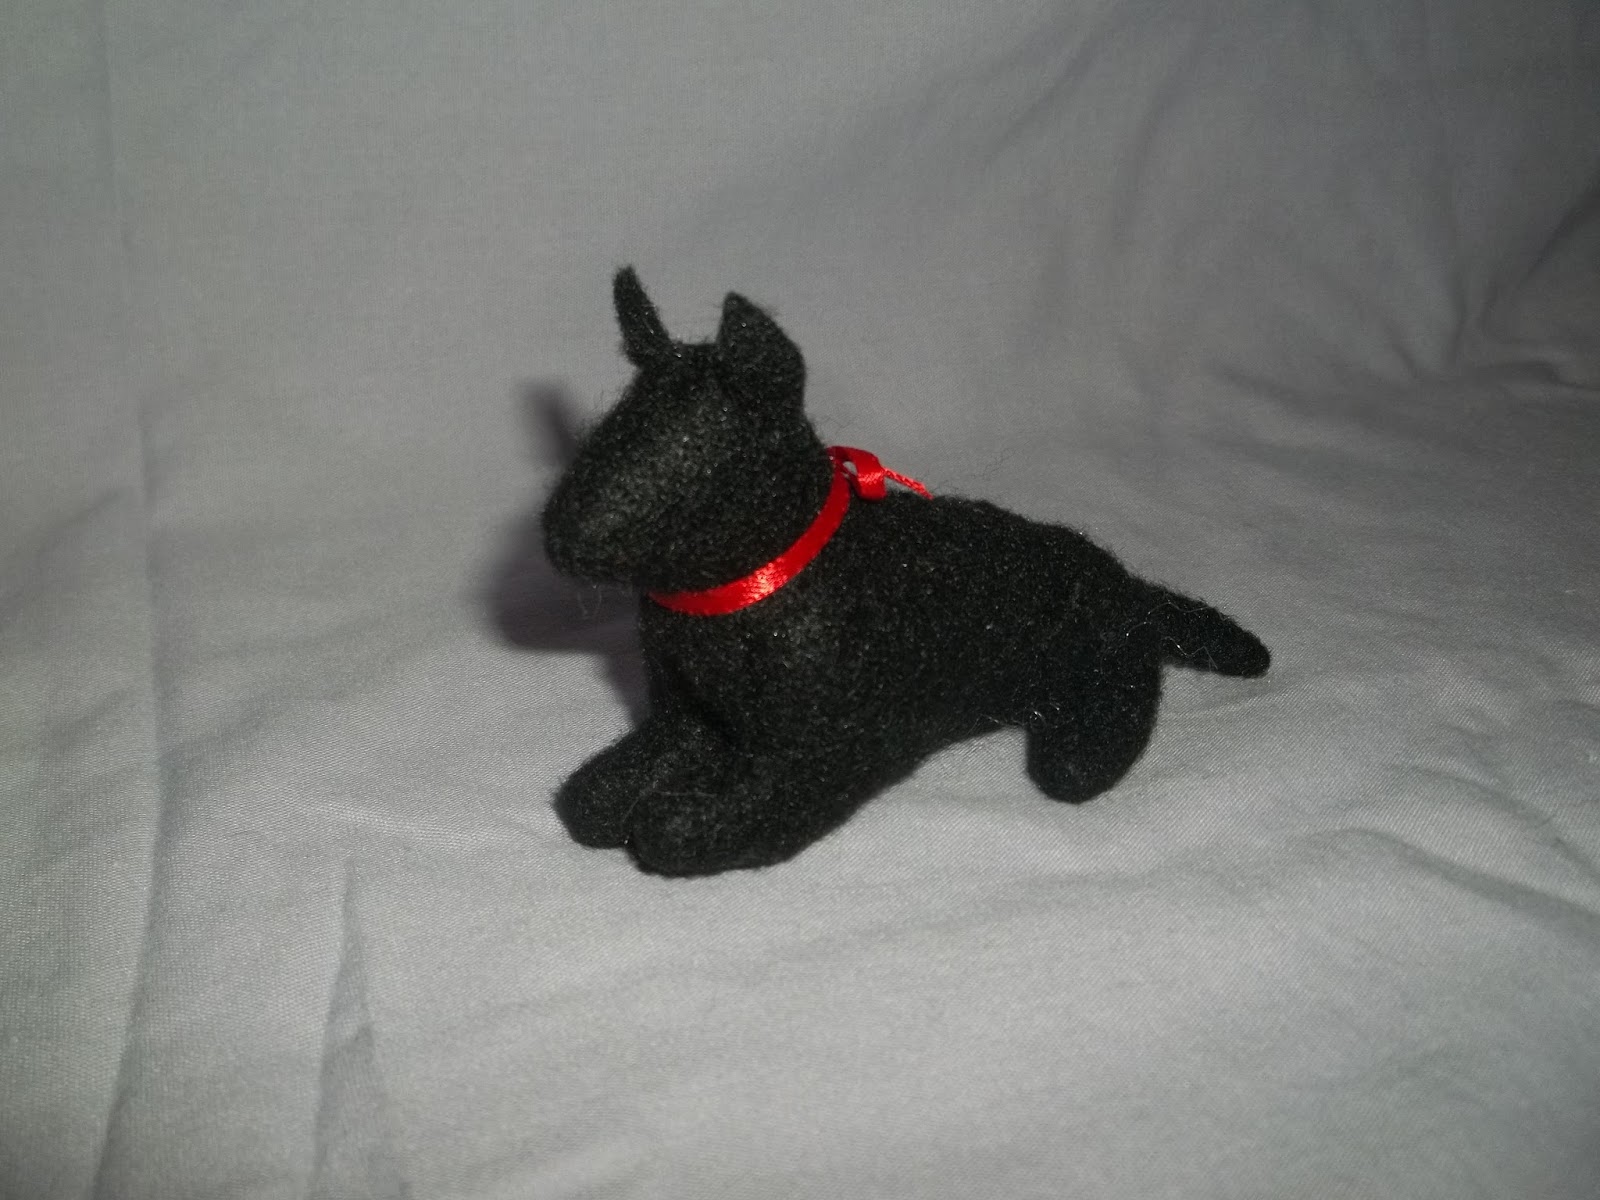
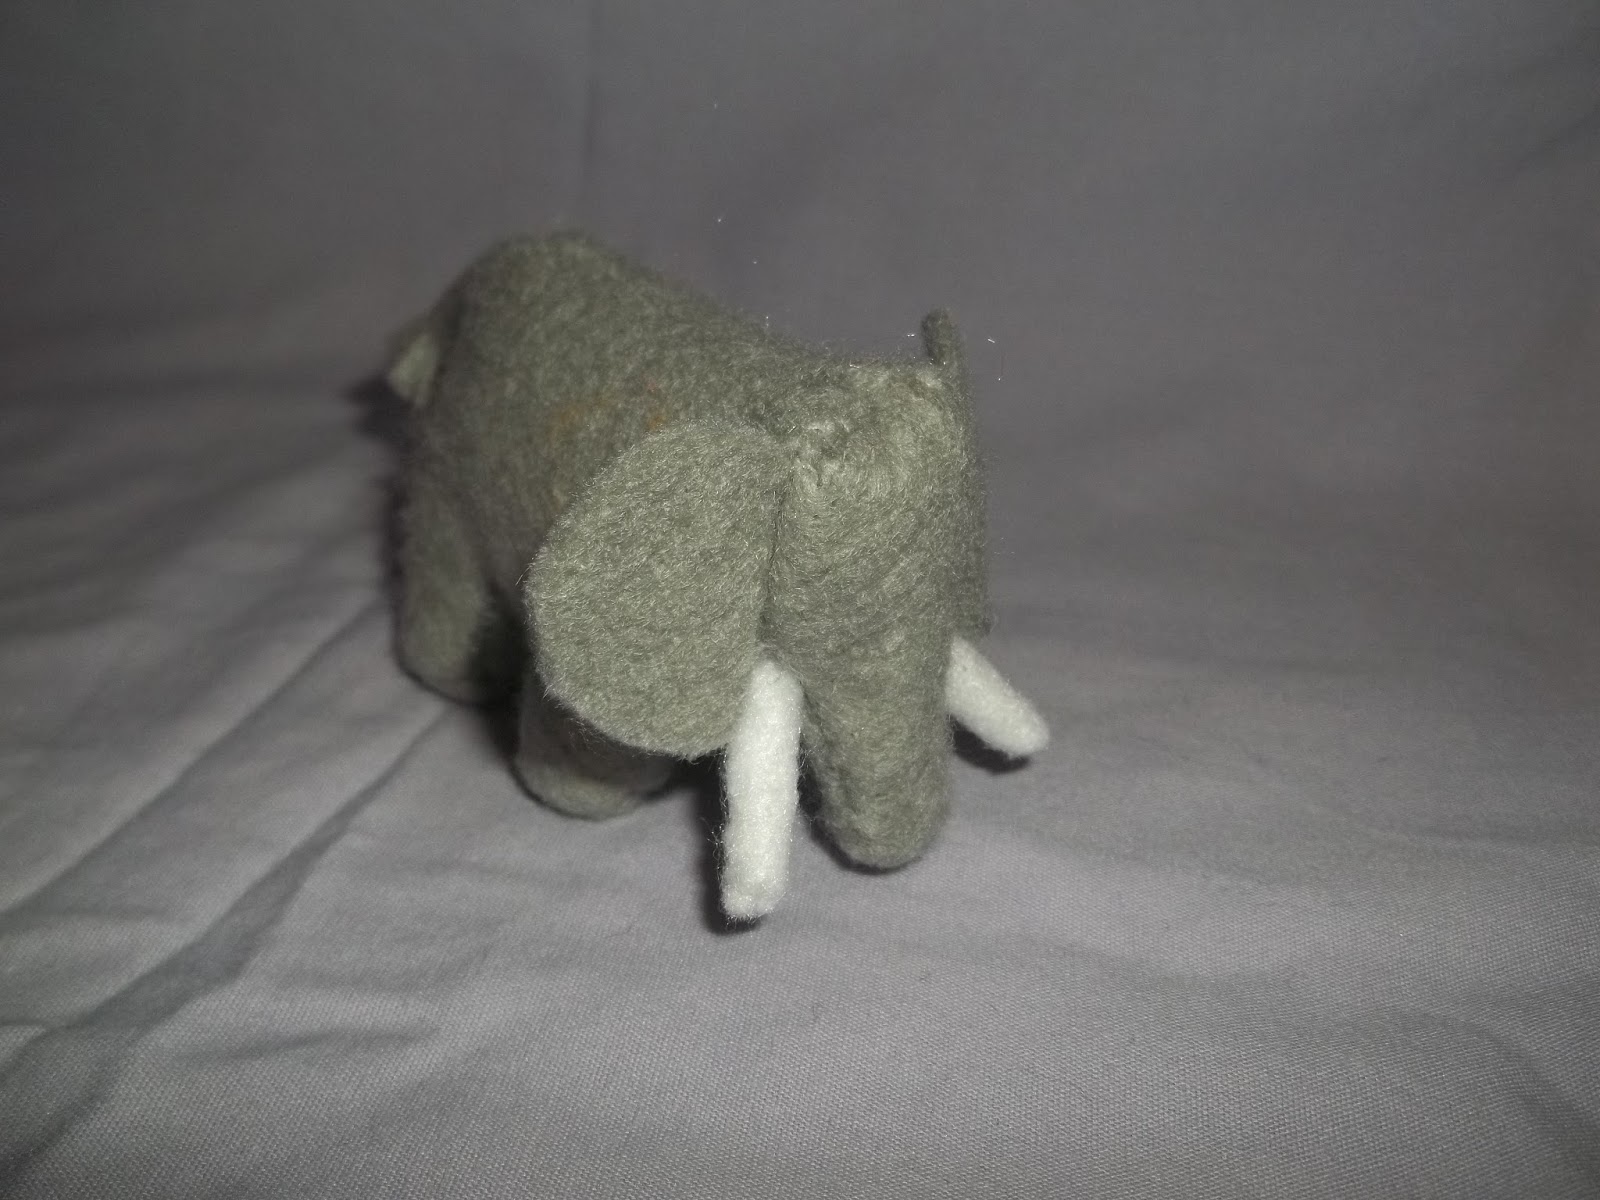
favorite patterns I found were probably the ones by Nuno Life- the
elephant, german shepherd, bull terrier, and labs.


This
shark pattern by DKSnakes turned out really well, too, and was one of the
simplest plushies to make.

I
had used this adipose pattern earlier in the month to make a
full-sized adipose for my sister, but I think the little ones turned
out even cuter! The only differences were that I had to embroider on
their faces and didn’t end up giving them a tooth because they were
just too small, and their limbs were also too small to add the
stitches to distinguish their fingers and toes.


I
also really liked this cute kitten pattern, though attaching their
heads was a little difficult. It was really cool how I could adjust
the angles of their heads and tails, though, to make them have
different personalities.

The creeper I made was also neat, though if I make another one, I’ll
probably change the face so it’s more accurate.

This my little pony pattern was fairly easy to follow, but I didn’t
like how the tail looked, and I wasn’t sure how to make a felt
mane, so I just tacked on some floss instead. My original plan had
been to give it a cutie mark, but my design was a little bit
complicated and I didn’t want to risk the two sides looking vastly
different, which probably would’ve happened.

Charmander turned out really cute, though I should’ve made it a bit bigger.
Granted, I didn’t have much choice in how big to make him, since I
had originally been trying to make this Togepi, not realizing that
all the pieces were different scales until after I had started trying
to assemble it… And then I realized that I didn’t have any more
of the flesh-colored felt in order to try to find the right scale for
the pieces. Luckily for me, the piece for Charmander’s belly was
very nearly the same as the pieces I had already cut for Togepi’s
body, so I was able to make him an okay size, even though it was
still too small for his eyes.

The Pikachu I made had the opposite problem- he ended up too big for my
liking. He was one of the first ones I made, so I was still adjusting
to how big the pieces should be in order to make them the size I
wanted, and I messed up a bit. His ears also ended up a little
floppy, since I made them only one layer of yellow felt, with two
pieces of black sewn on either side at the end. The tail, which had
two pieces of yellow sewn together as the base, was much more sturdy.

I
used a similar technique for making Dory. I wanted her fins and
tail to be floppy, so I made them a single layer of yellow for her
tail with the black edging pieces carefully sewn across the edges,
and a single layer of the blue and yellow pieces of her fins, which
were held together by two pieces of black felt sewn to either side.
In order to get the tail to fit right, I had to cut a bit off of the
blue body pieces, but I like how it turned out. If I make another one
in the future, though, I might try to make her mouth open, rather
than sewing on the black pieces for her smile.

The whale, surprisingly, was a little annoying. The bottom piece would
have been the right size if the top had only been made up of the two
sides. But with the addition of the wedge shape in the middle, it was
a bit too short. I was running a bit short on time, so rather than
trying to make a better bottom piece that fit, I decided simply to
fold in the corner where the tail meets the body, and then I folded
up the edges of the bottom piece over the bottom of the sides of the
body, and sewed them on top. It still looked okay in the end, though.

The raptor was maybe the most frustrating plushie I made. At first, I
tried to follow the pattern as it was, with each piece separate, but
I made it too small for that to work, and looking at all those tiny
pieces for the limbs made it feel really daunting. Luckily, it was
one of the first ones I started, so I simply set it aside until I had
finished most of the other plushies, and then when I went back to it,
I realized my mistakes and redid it. The second time, I combined most
of the pieces, tracing each part where they would fit together if I
was sewing them. I combined the two body pieces, the neck, and the
two parts of the sides of the face into one piece; and the main 3
parts of the arms and legs together as well. Then when I put it
together, I stuffed the tail with pipe cleaners, and put a pipe
cleaner in the neck as well, to allow it to bend, stuffing around the
pipe cleaners in the head and body. I probably should have also put
pipe cleaners into the legs, since it’s a bit wobbly, but it can
still stand up if you balance it just right, or it can rest on its
tail. I also decided not to add the claws on the legs, because I
couldn’t figure out how to attach them without it looking weird.
Maybe if I had made another small toe to attach it to on the inside
of the feet, it would have worked better.

This is the simplified pattern I used:

On
the same picture as the raptor is another pattern for a cat, which
I made earlier to give to another of my friends, who doesn’t go to
my school, which is why it’s not in the big picture of plushies. I
made it after I had started the raptor, and so I knew that cutting
out each piece individually wouldn’t work. So, like with the
raptor, I combined pieces, this time combining all of the pieces for
the body and legs into one piece, and also combining the two pieces
each of the face and the tail. Although not as cute as the kittens I
made, it does look quite realistic.

This is the simplified pattern I used:

The
plushie I was most excited about, and probably the reason I decided
to make plushies for my friends in the first place, was Kermit. One
of my friends is obsessed with Kermit, and asked me at one point to
make him an origami Kermit, but I haven’t been able to find
instructions for a decent-looking one anywhere online. So at one
point I had the idea to look for a plushie pattern instead, and after
hours of searching, I finally came across this picture! I
was so happy, and I knew I had to make it at some point. And so I
did! His arms and legs have pipe cleaners in them to allow them to
bend. I also had to combine his fingers except for his thumb into one
piece of felt, sort of like mittens, because since I was making him
so small, my first attempts at making his hands left his fingers too
small, and they kept breaking off. The hardest part was making his
eyes, though. Because of his small size, all the spherical beads I
found had huge holes, and looked weird, especially since they were
too round. So I ended up making my own beads out of sculpey, which I
painted to give them the pupils. If I ever make another Kermit, I’ll
try to do something else to attach the inside of his mouth to his
face, though, so it actually stays within his mouth, maybe folding
over the green part a tiny bit over the red pieces and using a
running stitch to attach it. Either way, I think he turned out really
cool!

Mudkip
was the second to last plushie I made, and for good reason- I pretty
much had to make up the whole pattern myself. I had found this cool tutorial that claimed to have a link to a pattern, but the pattern
didn’t appear to be there. Thankfully, I was able to guess at what
the pieces looked like based on the pictures in the tutorial and the
knowledge I had gained from the other plushies I made, especially
Oddish. I also realized that I didn’t like the way the mudkip in
the tutorial was upright, so I used this tutorial for making4-legged plushie patterns as a reference to make
him on all four legs.

And
this is the pattern I came up with:


The
last plushie I made, and the only one that I didn’t finish on time
was Rey. It’s ironic that the first one I started was the last one
I finished, but oh well. I used this fairy doll pattern as a base
for her body, and embroidered her face. And then I realized I didn’t
know how to make her hair and set it aside for like 2 months. At
first I found a tutorial for putting string hair on dolls, but I
didn’t have enough floss of the right color. I almost switched my
idea and made her someone else, but it turned out I didn’t have
enough floss of any hair color to make a doll wig… And then I
realized I could just make her hair out of felt. Then once she had
hair, I used the fairy doll pattern again as a base to design her
shirt and shoes, using this picture as my main reference. I
stitched a few lines on her arm wraps and the long drapey thing to
make it look like they were creased. Overall, I like how she ended
up, and I think it’s pretty accurate.

This
is the pattern I came up with, many of the pieces modified from the
fairy pattern I found:

